
Epoxy Resin Ideas For Beginners
Mix more resin - Pour a thin layer carefully over the pendant to cover the photo and inclusions. Remove any air bubbles by blowing or passing a heat gun over the surface. Check back often during the first 15 minutes as the glitter or flowers you added may incorporate small bubbles. Cure 12 more hours and mix another small amount of resin.

Foto's van de epoxy en kunstwerken
Glue the back of your photo making sure to cover the edges otherwise they can peel away from the tile. This step also makes sure that it doesn't move around when you pour the epoxy on it. Mix up the epoxy. Using a 2:1 ratio of part A to part B. Mix thoroughly until the mixture turns clear but slowly to ensure no air bubbles form in your mixture.

Art and Epoxy en Instagram "Una pieza de arte de resina bastante impresionante 💜💙💛 Propietario
Hallo meine Lieben,ich freue mich sehr, Euch heute zeigen zu dürfen, wie Ihr Fotos in Epoxidharz eingießen könnt.Ich wünsche Euch viel Spaß beim anschauen un.

Foto's van de epoxy en kunstwerken
For object embedding, we use two types of epoxy: our Table Top Epoxy and Deep Pour Epoxy. For most objects, deep pour epoxy is usually the right choice. This is because deep pour epoxy's primary purpose is for pouring thick resin layers. In fact, our own UltraClear Deep Pour Epoxy can be poured in layers up to two inches thick.

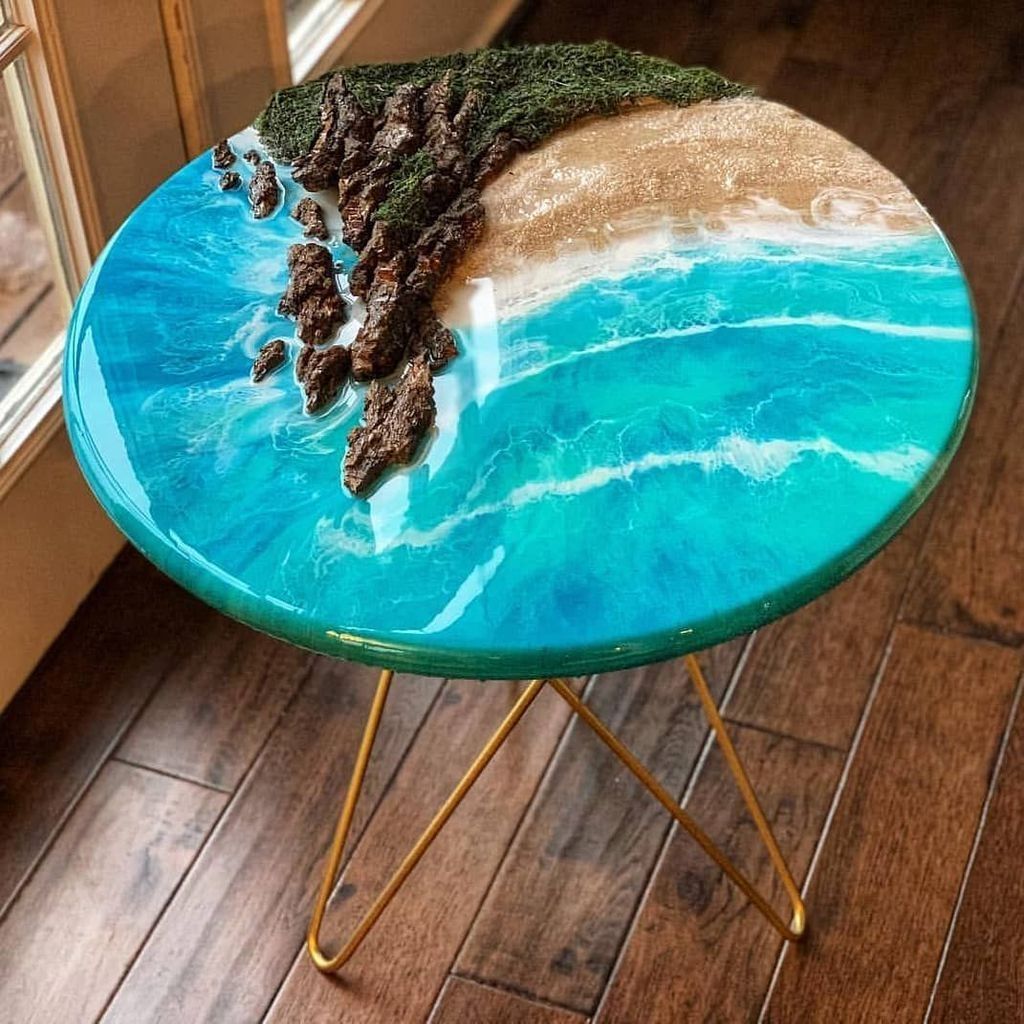
Epoxy Resin For Decoration resin decoration
Step 9: Apply the resin to your epoxy art surface. The easiest way to start is by pouring the colors in ribbons onto your surface. Then, watch them blend. Next, use your stirring utensil to push the colors around. You can also pick up your resin painting surface and shift it from side to side to get the colors to spread over the surface.

Epoxy Flooring Gallery Glossy Floors
BUY ArtResin here http://www.artresin.com/Here is how I like to mount my photo prints that I know I will be applying resin to.contact us for a coupon and che.

How To Make Photo Coasters Using Epoxy Resin Brian Truono Photography How to make photo
How to put photos in resin, how I seal my photos to make them resin ready. Creating great gifts and ornaments using a mold for coasters. This turned out so n.

Epoxy Flooring Your Guide For 2020 My Decorative
Step 2: Sealing Your Image. Sealing your photo is important in order to keep it from buckling and absorbing the resin. Wearing your respirator, coat your photo front and back with workable fixative in 3 thorough coats. Keep the nozzle at least 1' away from your photo.

Epoxy Floor Systems Epoxy Floors Epoxy Flooring Epoxy Floor paint Epoxy floor coatings
https://www.artresin.comWelcome to our series. How To Resin.Today, we demonstrate how to resin over a glossy photograph!Covering photos with a coating of.

Foto's van de epoxy en kunstwerken
Epoxy Resin Ocean Waves Relax Wall Art, Coastal Decor, Beach Decor, Ocean Lover Gift, Ocean Art, Wall Hanging *Made to Order* (144) $ 70.00. FREE shipping Add to Favorites Epoxy Resin Petri Dish Art - Glass Wall Art - Housewarming Gift - Interior Design Ideas - Home & Office Decoration (65) $ 78.30. Add to Favorites.

Effortless Diy Epoxy Resin Countertops — Randolph Indoor and Outdoor Design
Epoxy met houten ondergrond. Fotograaf: Marieke Plaisier. Een zeer bijzondere toepassing: de opgeplakte foto wordt ingelegd in het uitgefreesde deel van een houten paneel, zodanig dat er een houten frame zichtbaar blijft. Als het geheel daarna met Epoxy wordt overgoten ontstaat een werk met een exclusieve en unieke uitstraling.
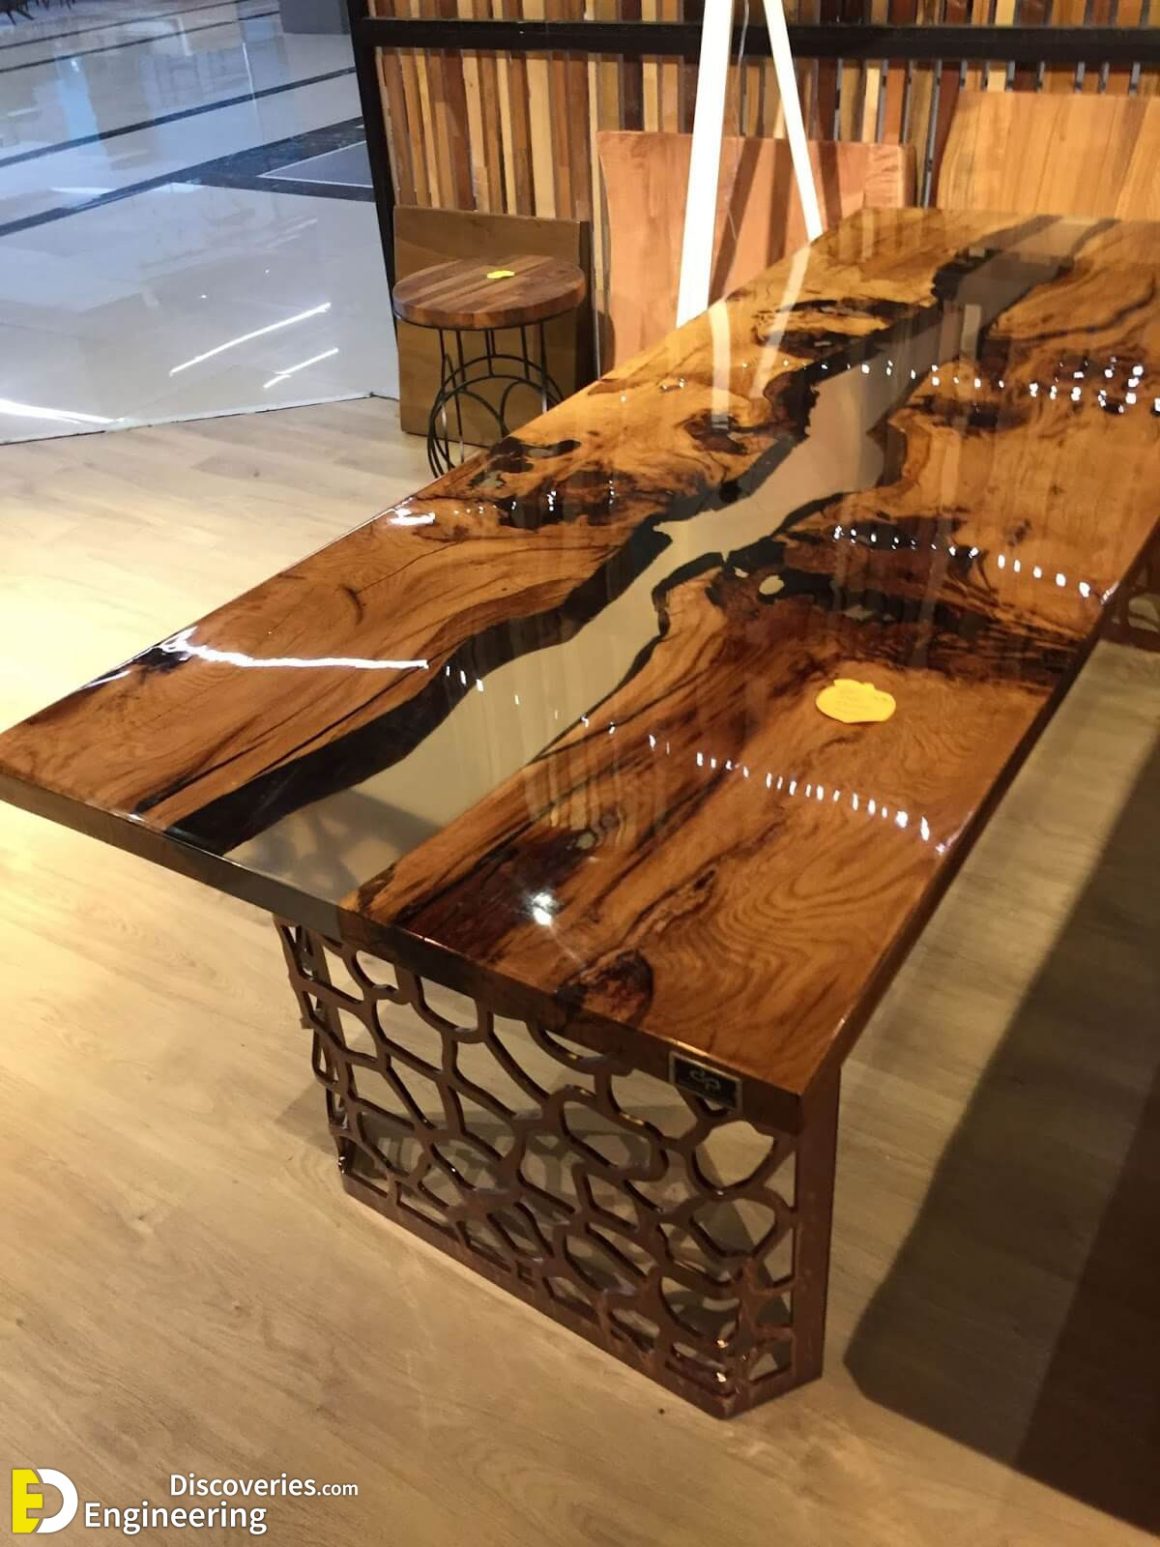
55 Amazing Epoxy Table Top Ideas You’ll Love To Realize Engineering Discoveries
Then form the putty into approximately the right shape and press it into the damaged area. Use a wet putty knife to smooth and shape the putty. When the epoxy has hardened to about the consistency of bar soap, carve or scrape off most of the excess. When it hardens completely, you can sand it just like wood. 3 / 11.
Best Epoxy Resin Find the perfect Resin for all your Projects
You can put photos in epoxy resin by following these simple steps: -Choose a photo that you want to use. It is best if the photo is high resolution and has good detail. -Print out the photo on a laser printer. Do not use an inkjet printer, as the ink will smudge when it comes into contact with the resin.

Foto's van de epoxy en kunstwerken
STEP 4: Glue the photo. Prop the wood canvas panel up with your painter triangles. Apply a thin layer of glue to the front of the canvas and place the photo onto the glue. (I did not seal the photo or do anything to it, and there was no staining.) If you use a photo that you cut or alter in any way, seal the sides to prevent the resin from.
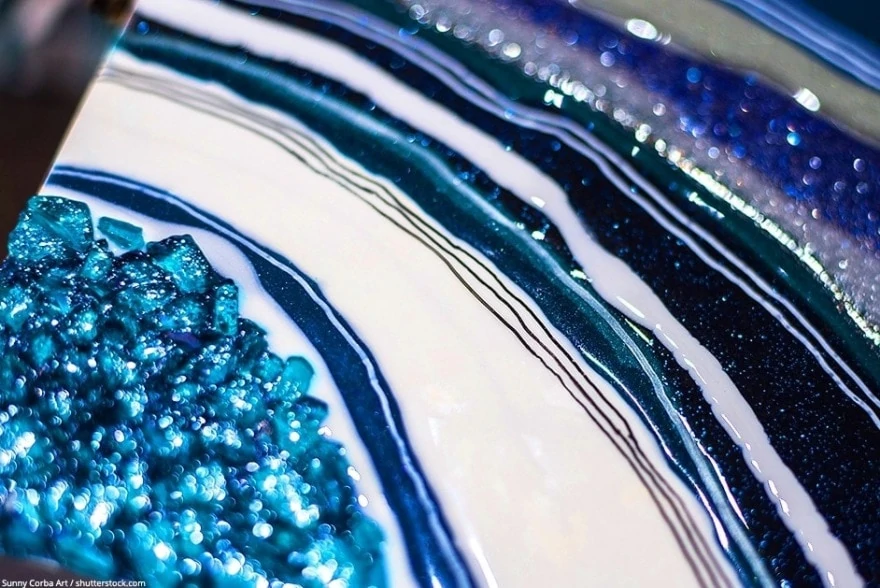
Ways to Apply and Use Epoxy Resin
15,530 epoxy resin stock photos, 3D objects, vectors, and illustrations are available royalty-free. See epoxy resin stock video clips. Worker applying a yellow epoxy resin bucket on floor. The worker is carefully mixing epoxy composites in a metal bucket to create high-quality polyurethane resin. Epoxy Resin Art.

Foto's van de epoxy en kunstwerken
secret underground corridor - epoxy stock pictures, royalty-free photos & images. closeup of fibers and epoxy in fiberglass material - epoxy stock pictures, royalty-free photos & images. close up of craft woman mixing epoxy and glitter in the cup with wooden stick - epoxy stock pictures, royalty-free photos & images.